PUTTING IN A BACKGROUND
MAKING THE SHAPE
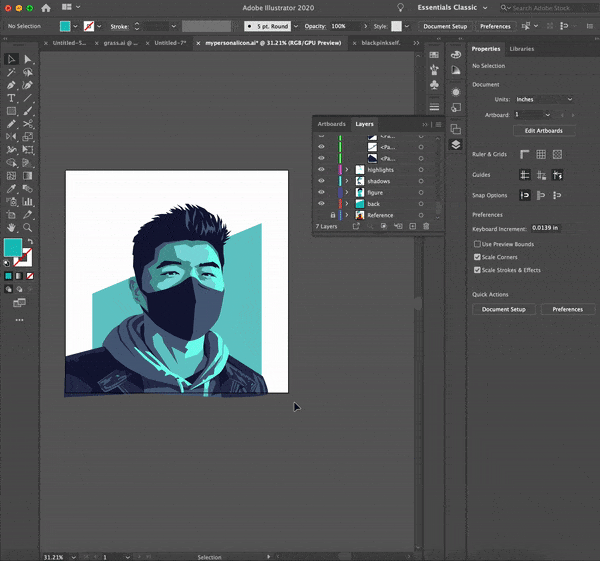
Putting a shape in the background, when done correctly adds some more dimension to your icon. I choose very geometric shapes to be my background to match the geometric look of the illustration.
Most of the time I go with a circle, but I wanted to show off the clothing a bit more, since I put a lot of details in it. I used the rectangle tool (⌘M) to create a basic background shape. I want to emphasize my face a bit more and make it pop out a bit, so I lowered the anchor point on the left using the direct select tool (⌘A) to make my head break the outer border. That anchor point lines up to the implied line my shoulder makes, continuing that movement and directing it up towards the face. Make sure the shape centers your face using the align panel. Then using your eyedropper tool (⌘I) select a color in your palette that your outer edge of your icon combines with the least.
MASKING IN THE EDGES
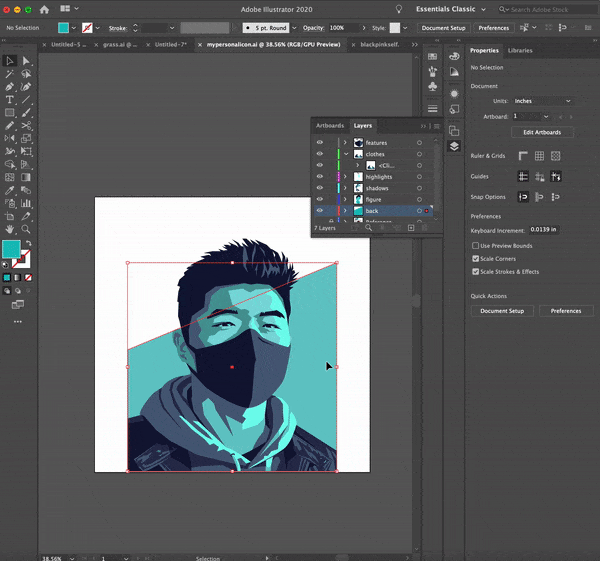
Now you need to put your icon into the background shape.
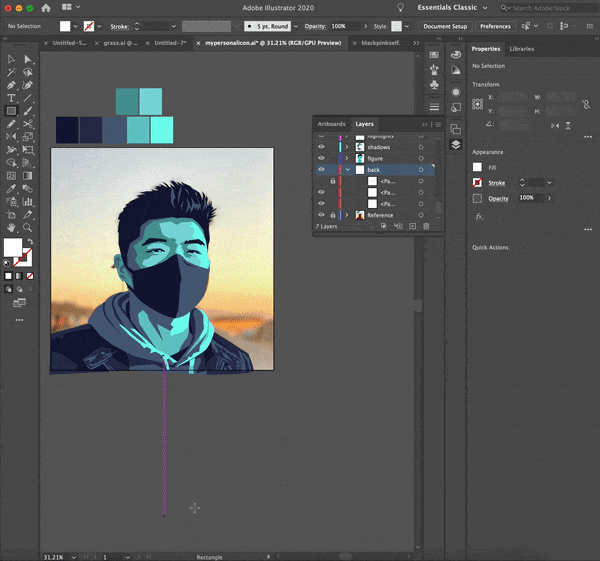
Start by hiding your reference image. Decide which objects in what layers need be cut off by the background shape, normally you want the clothing layer to stay inside the shape, while your head breakes the box.
In the layer or layers you chose, select all the objects by clicking the cirlce text to the layer title in the layer panel. Put all the shapes into a group (⌘G).
Copy the bakground shape you made (⌘C) and place it in those layers (⌘B). Put the background shape to the front (⌘+SHIFT+]). Select the group and the shape by holding shift and create the mask(⌘7).
PUTTING IN AN OUTLINE
If you plan to make your background transparent and you want to make an outline around your icon, do this. However, if not, this step is not necessary.
Go through the layers and select every shape that is on the edge of the icon. Copy those shapes (⌘C) and place them on the background layer (⌘B). Make those shapes into a compound shape (⌘8) and go to the stroke tool on the right. Increase the outline stroke until you like it. In the appearance panel, change the edge of the stroke to rounded instead of sharp, especially if you have a lot of corners in your silhouette. Lastly, change the stroke color to white or whatever color works well and the you are done with your icon!